HR Module
The HR module in ERP system is loaded with automated features to handle all aspects of personnel management, right from recruitment and attendance, along with many other critical operations. .
In this module you can,
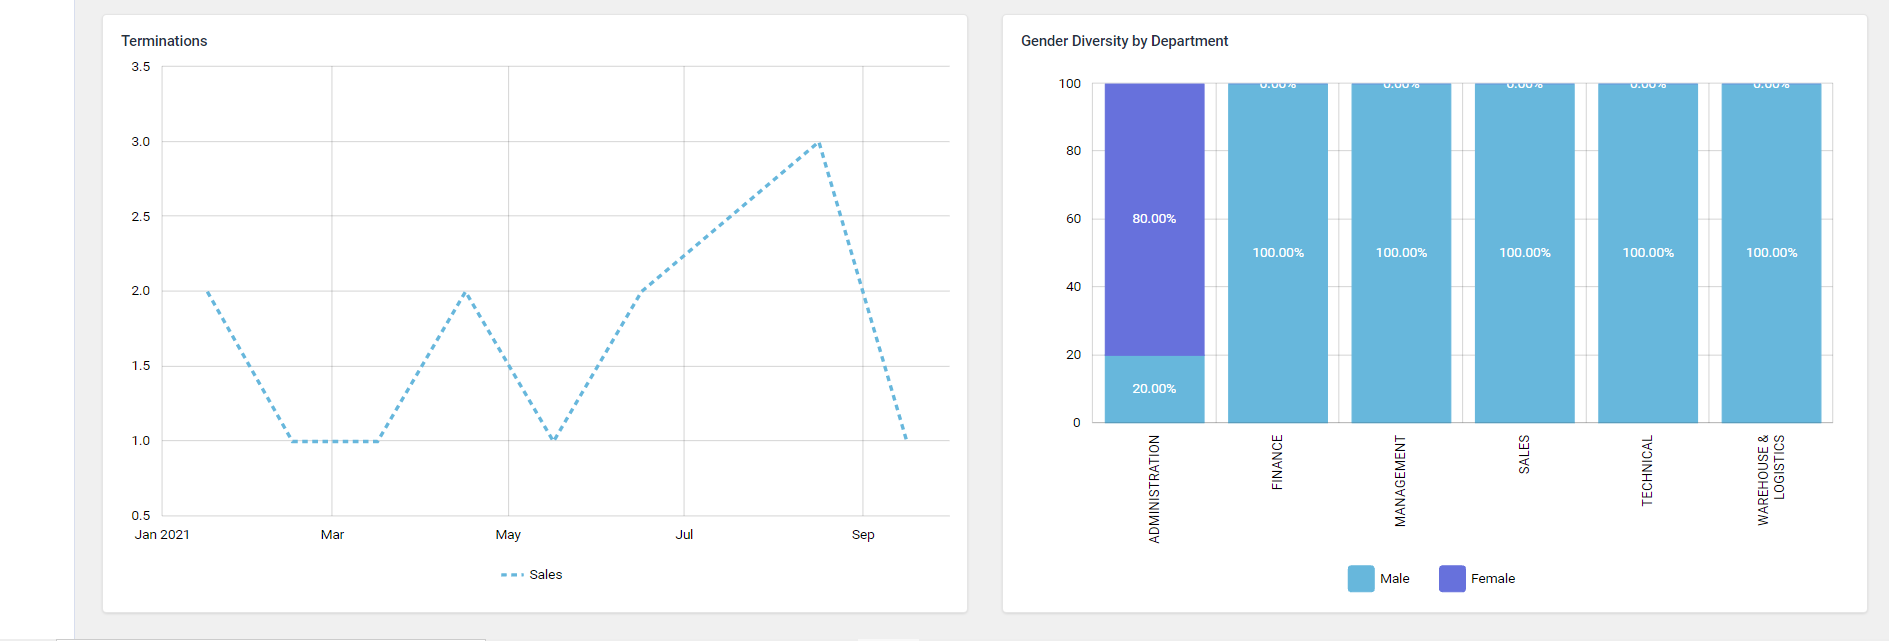
HR Dashboard
This page displays the overall status of the employees in the organization.
Go to HR ->HR Dashboard

Employee Information
This page displays all the details regarding an employee in the organization
Go to HR ->Employee Information
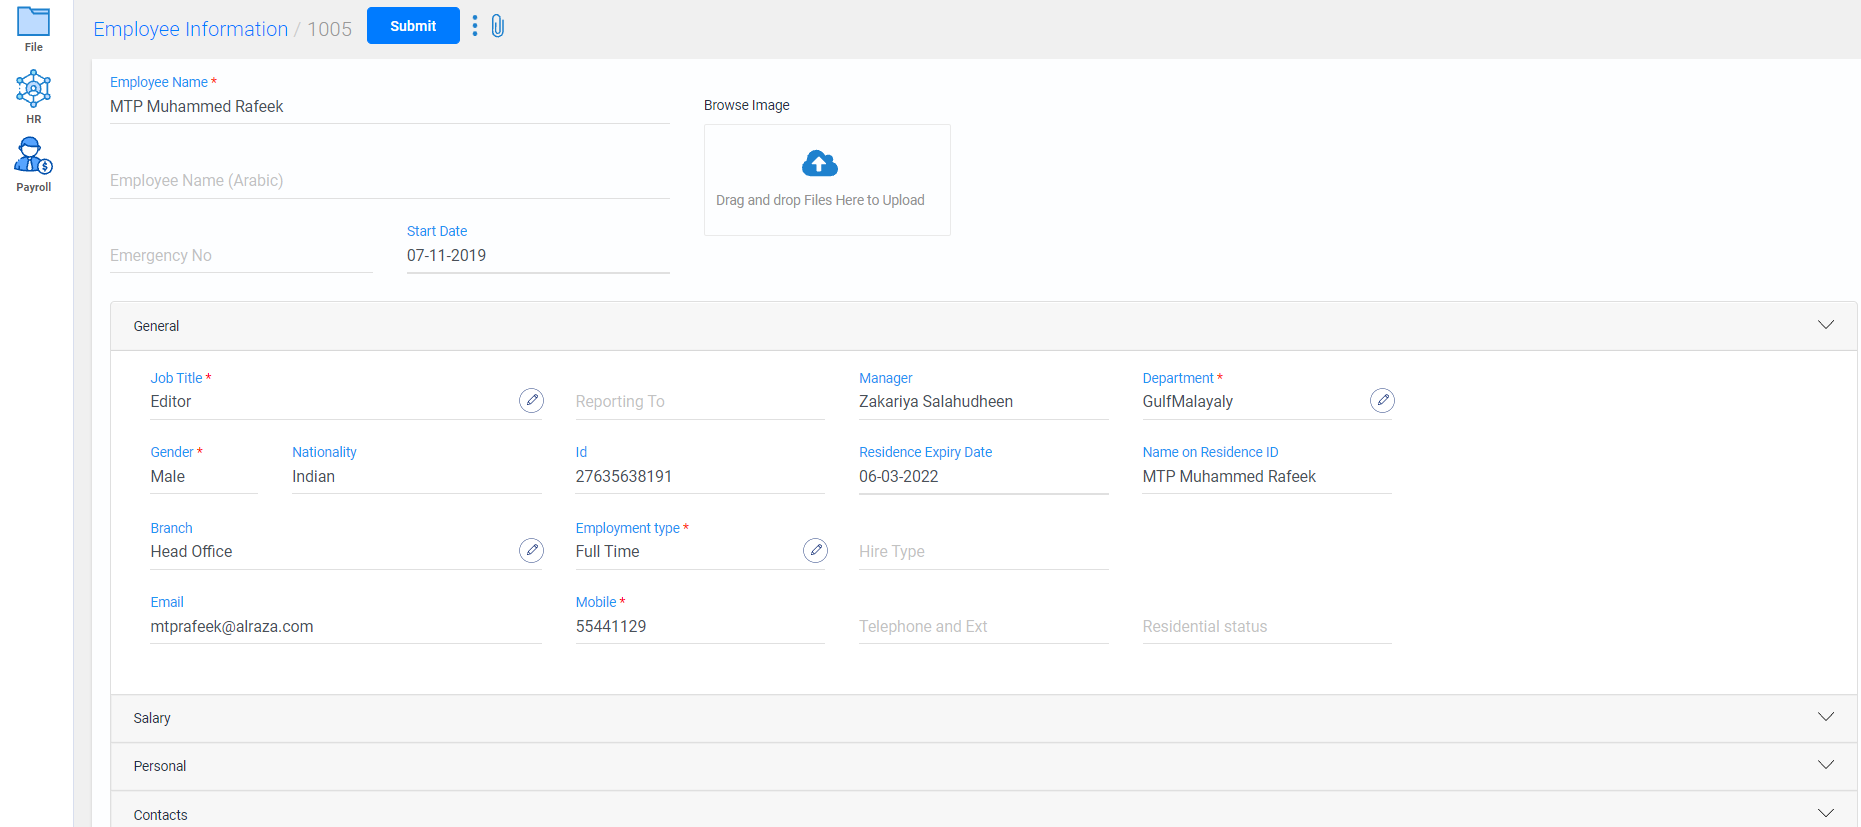
- To add a new employee details, click on the create new button.
- Enter the employee name, upload the image of the employee and mention the starting working date of the employee.
- In General tab, enter the job title, employement type, department and the manager details of the employee.
- Enter the gender, phone no and other contact details of the employee.
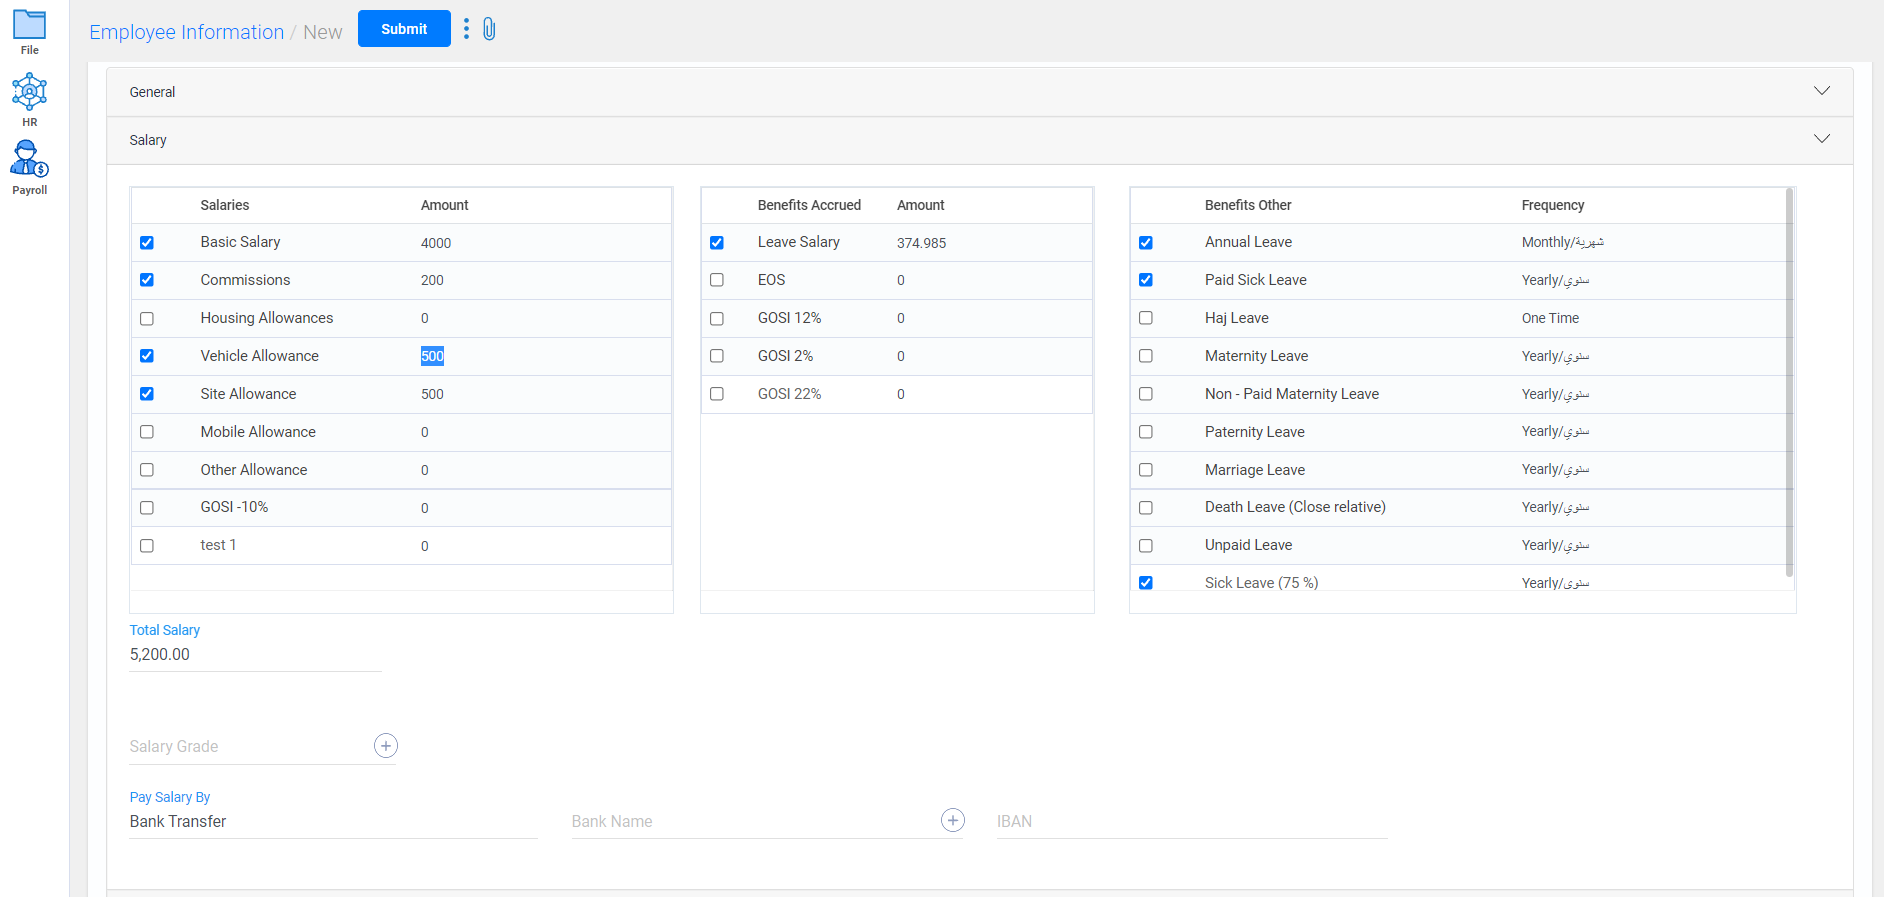
- In Salary tab, enter the basic salary, allowances and select the benefits accured by the employee.
- Select other applicable benefits for the employee.
- The total Salary of the employee will be displayed. Enter the grade and salary payment method below.
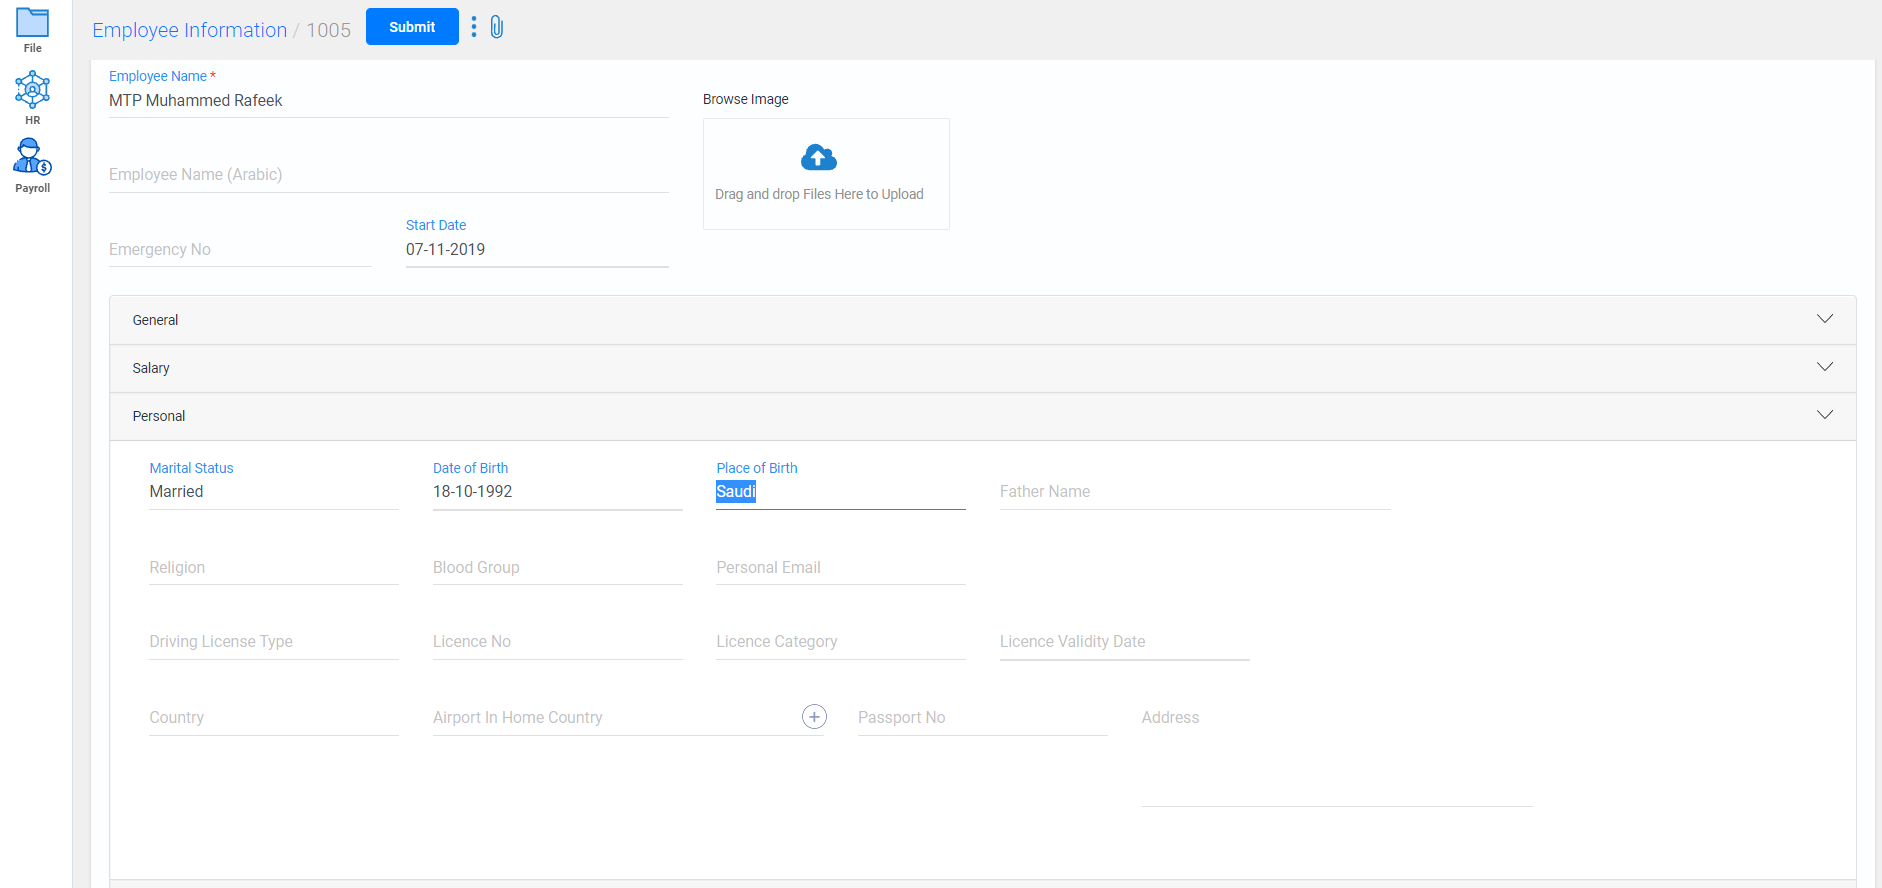
- In Personal tab, enter the personal details of the employee.
- In Contact tab, enter the employee's home country and employee's work location country's details.
- In Additional tab, enter the Insurance details and reference or relation details if any.
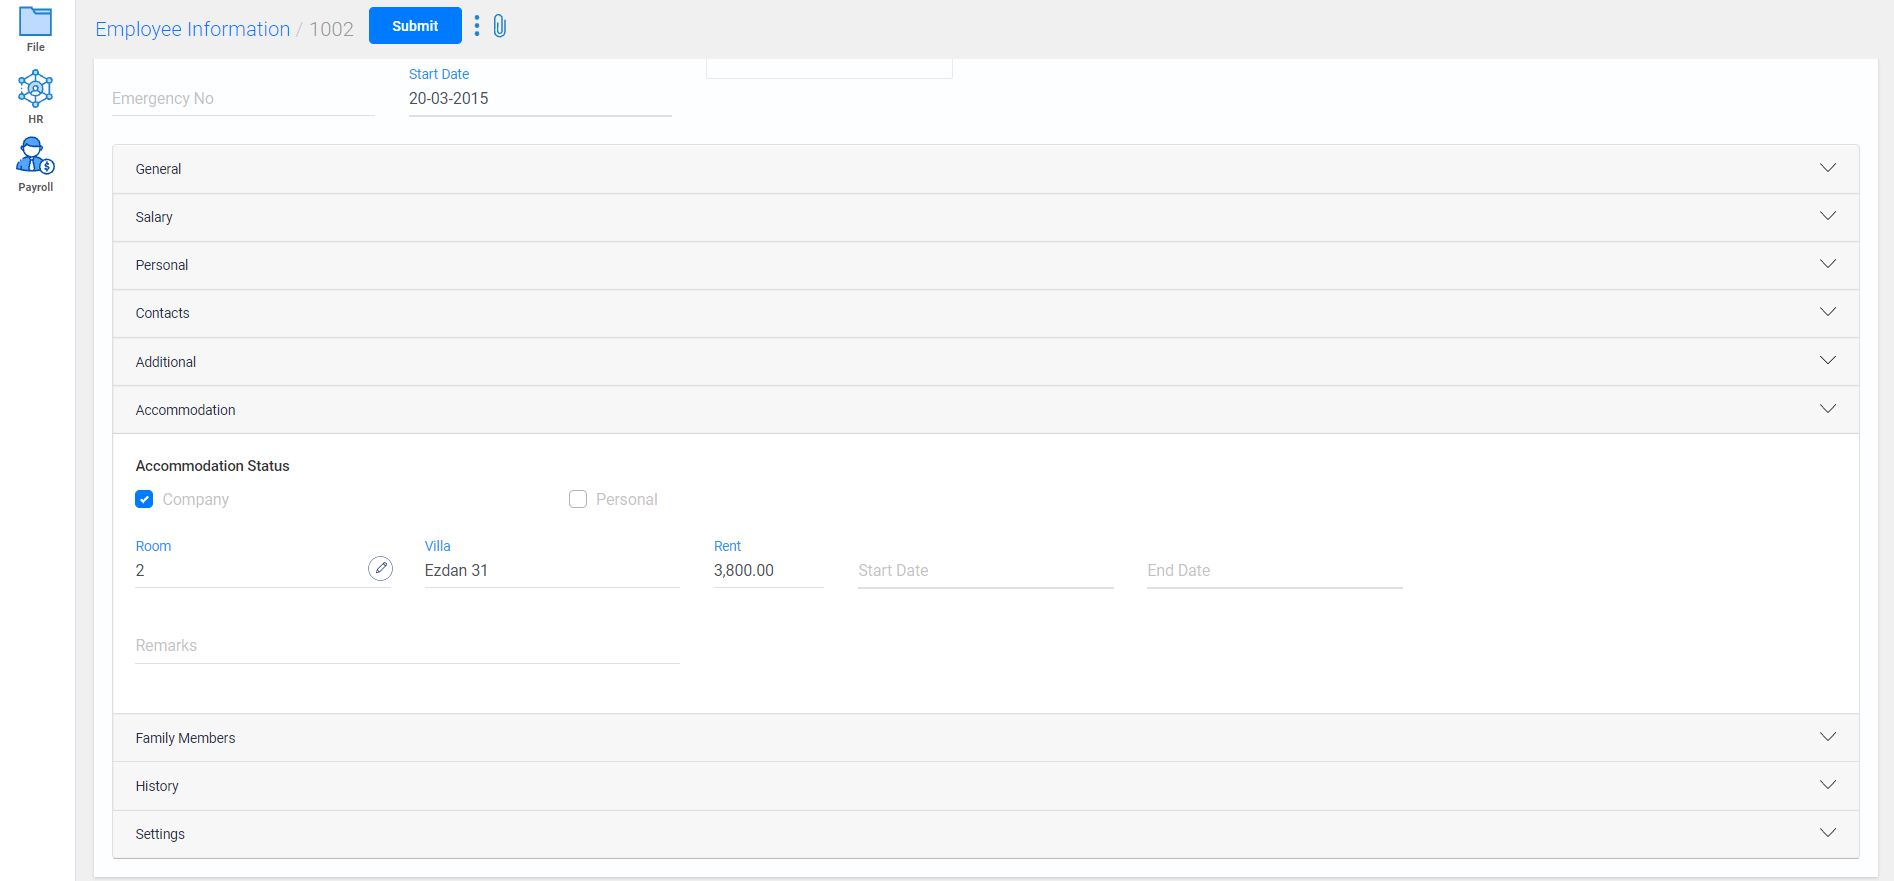
- In Accomodation tab, select the checkbox company if the employee's accomodation is provided by the organization and enter the room and rent details.
- If the accomodation is not given by the company, select the Personal checkbox.
- In Family Members tab, enter the family members details of the employee if needed.
- In History tab, enter the educational qualifications and work history of the employee
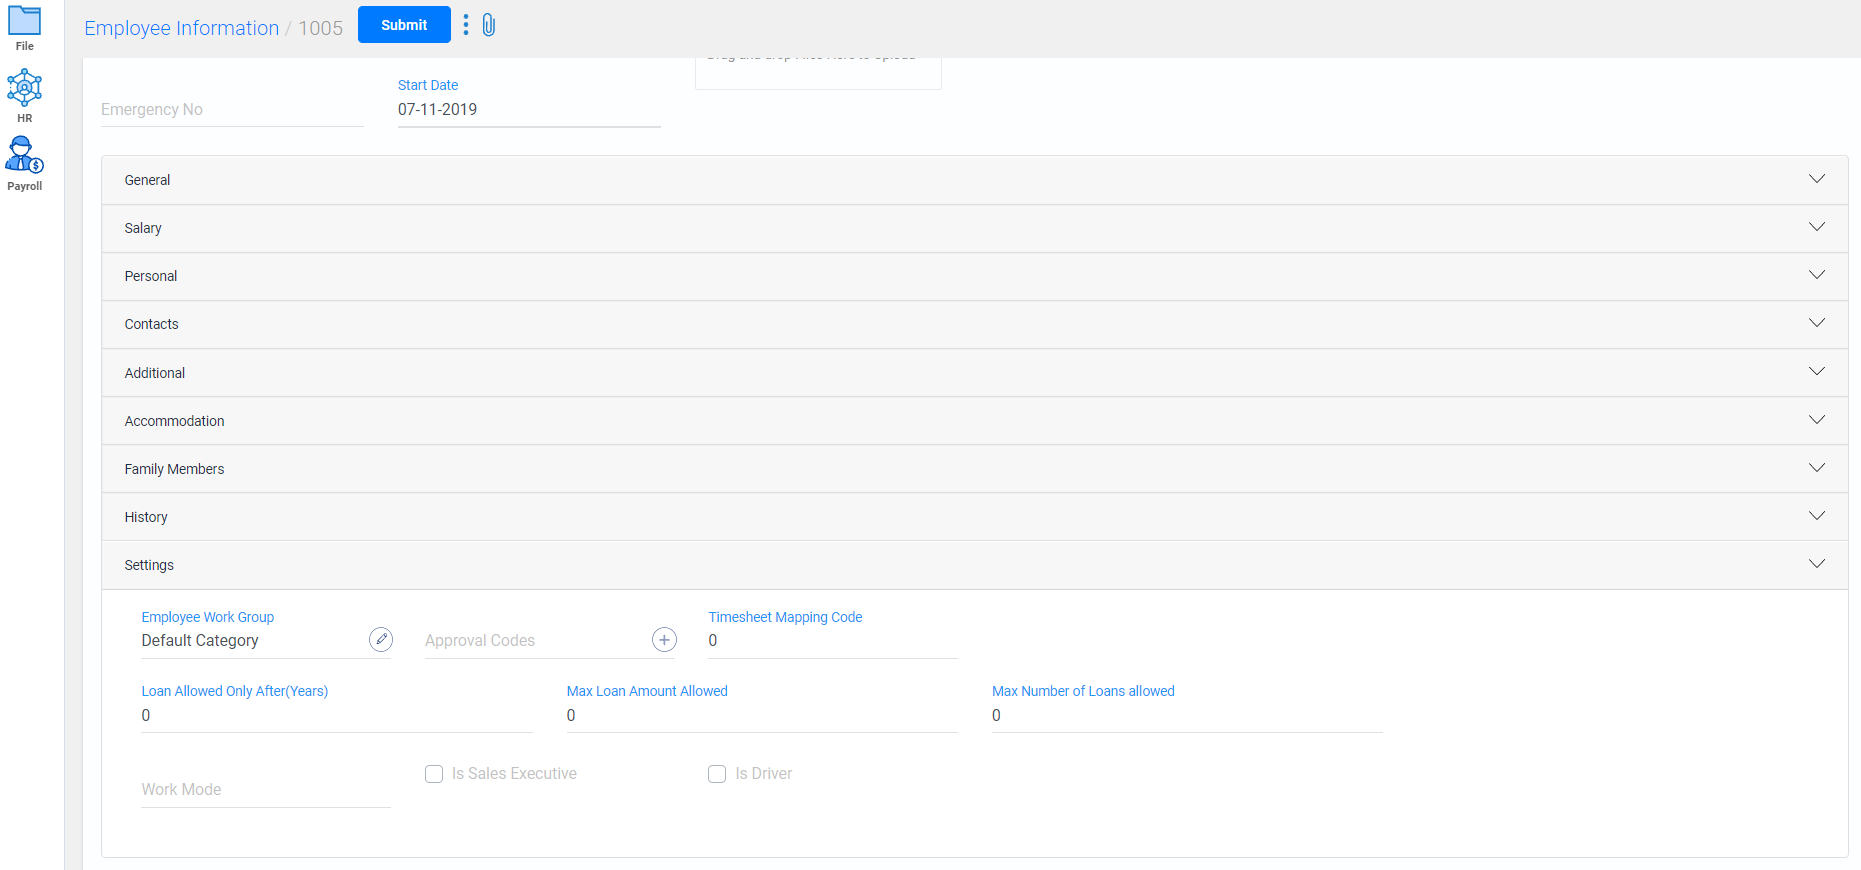
- In Settings tab, select the work group of the employee from the list or create a new work group and its shift work timings by clicking on the
 icon.
icon. - Select the Approval codes of the employee from the list or create a newcode by clicking on the
 icon.
icon. - Enter the loans limitation details for the employee.
- Enter the employee's work mode location(either office or home).
- Select the respective checkbox if the employee is either a sales executive or a driver.
- Click on submit button.
- All the details of the employees are displayed; you can either view or edit them if needed
- To view any details of a particular employee, search with their name in the search field.
- Watch Video
Employee Shift Schedule
To schedule a shift for a employee,
Go to HR -> Employee Shift Schedule
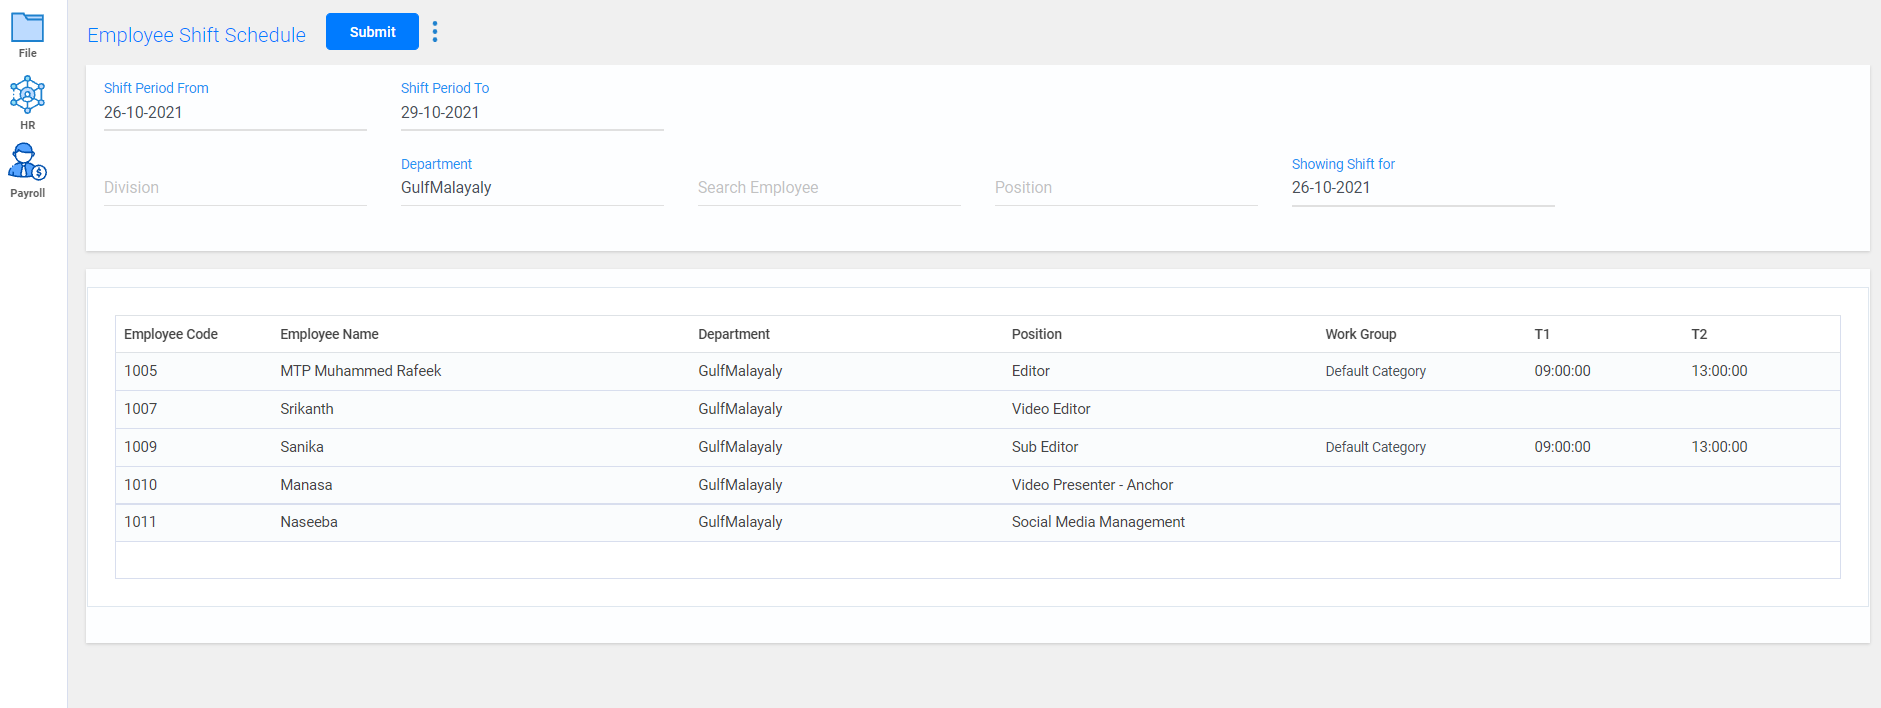
- Select the Shift period starting date and end date(This shift period can be a single day also).
- Enter the particular fields like division, department, name or position of the employee to filter any particular employee or group of employees.
- Select the work group of the employee, the shift start and end timings for that particular group will be displayed.
- Click on submit button. The shift schedule will be set for the employee.
Employee Leaves
To enter the leave details of the employee,
Go to HR -> Employee Leaves
- To create a new employee leave details, click on the create new button.
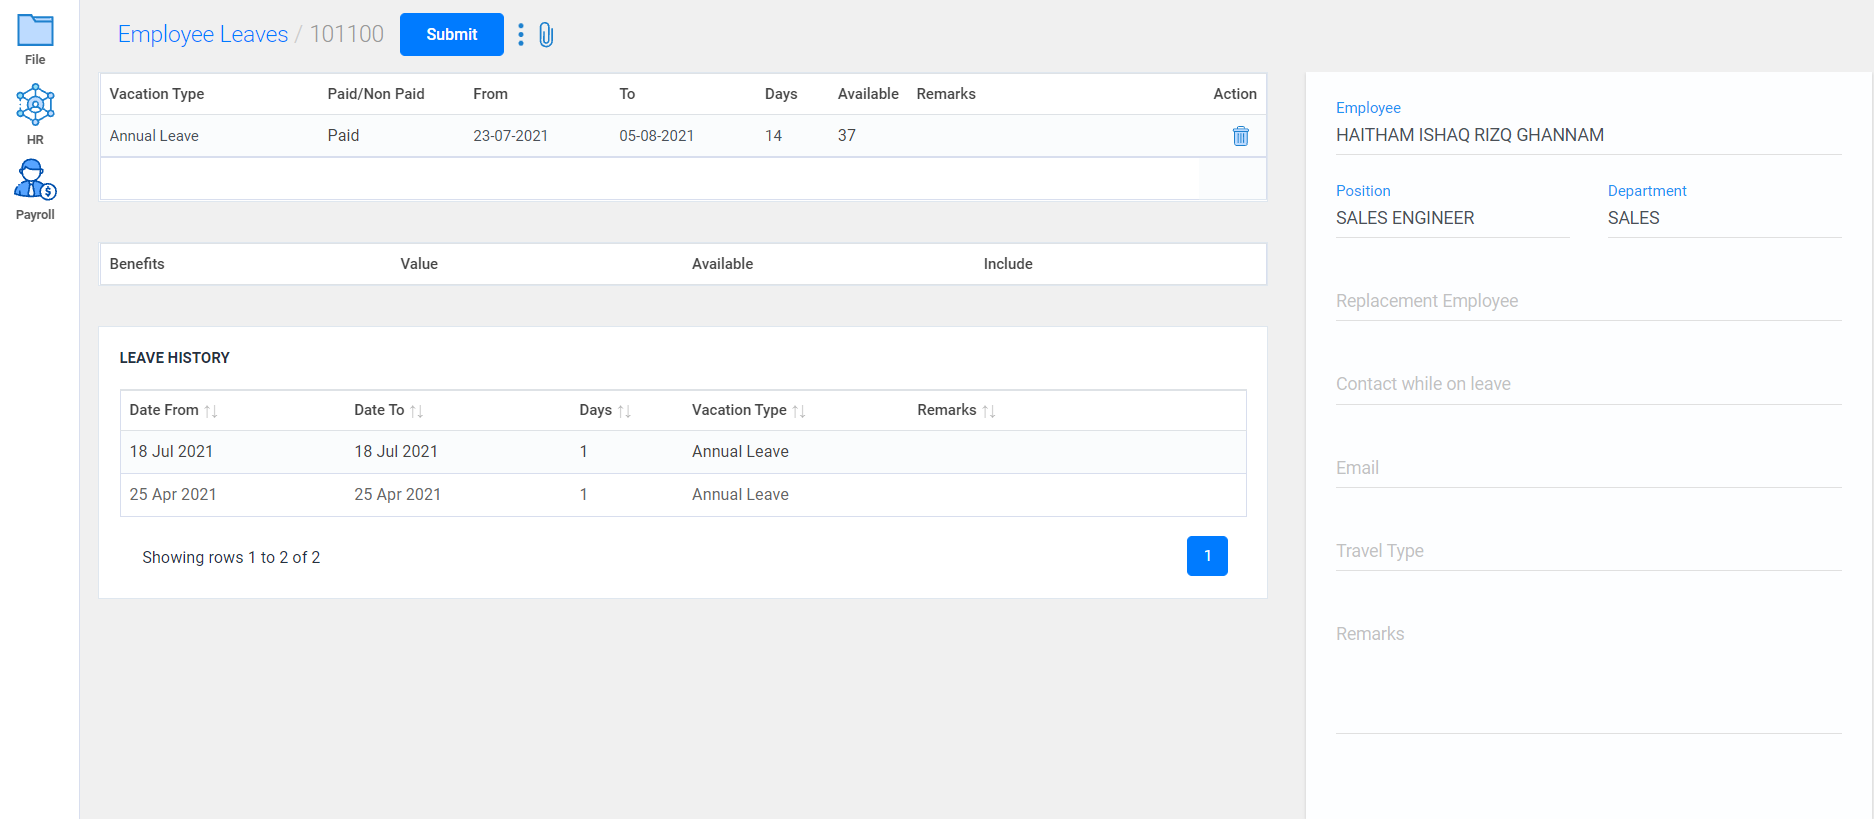
- Select the employee name, replacement employee for the position and other fields in the right side of the form.
- Enter the vaccation type and its details.
- Enter the vaccation period in the from and to fields.
- The previous leave details of the employee will be displayed. Attach any documents if needed.
- Click on submit button.
- All the employee's leave details will be displayed; you can either view or edit them if needed
- To view any details of a particular employee's leave details, search with their name in the search field.
- Watch Video
Employee Leaves Adjustment
To enter an adjustment in the leaves for an employee,
Go to HR -> Employee leave adjustment
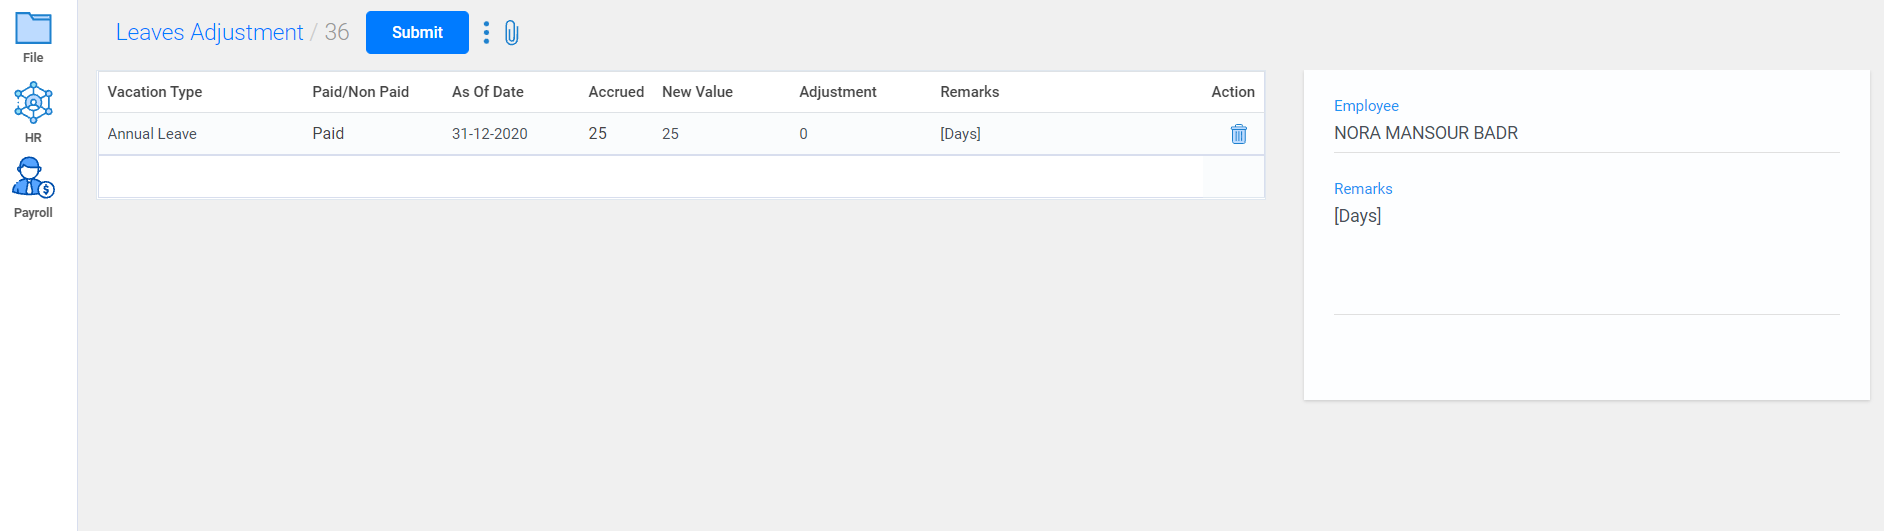
- To create a new employee leave adjustment, click on the create new button.
- Select the employee name in the right side of the form.
- Enter the vaccation type and its details.
- Enter the revised number of leave days in the new days field whereas, the previous used leaves will be shown in the accured field.
- The adjustment will be calculated and displayed in the adjustment field.
- Click on submit button.
Employee Revision
To enter a revision in employee’s information,
Go to HR -> Employee Revision
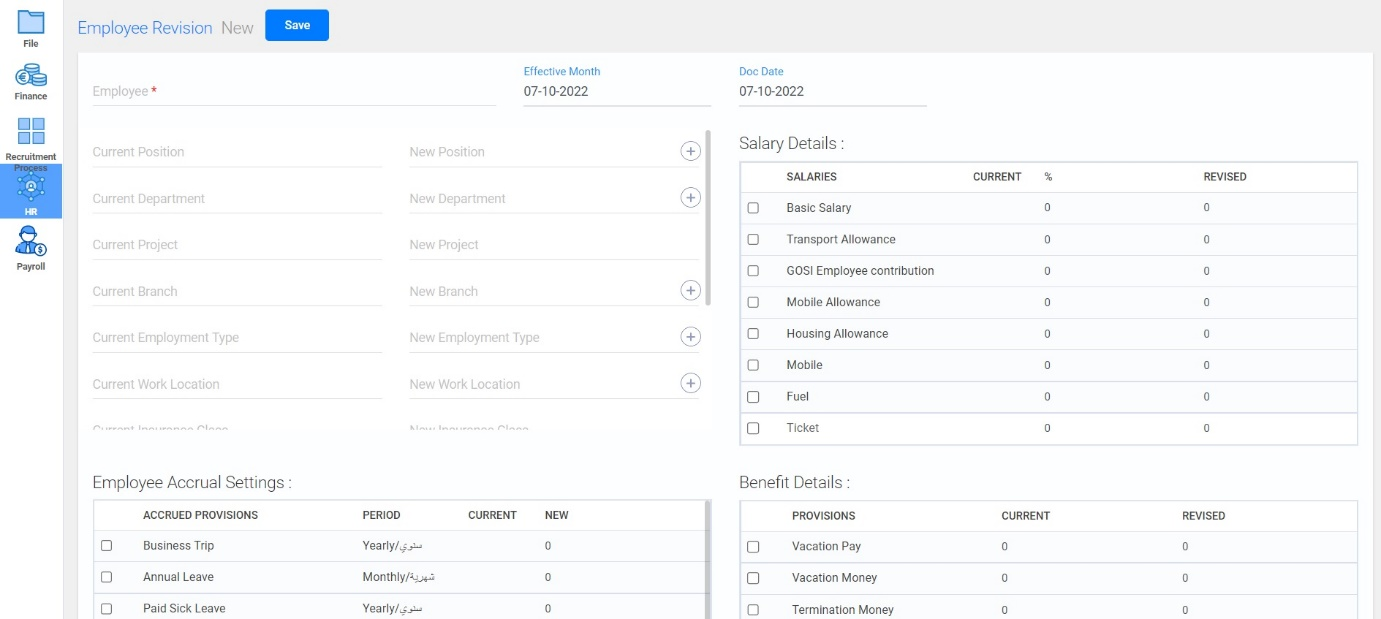
- To create a new employee revision, click on the Create New button.
- Choose the employee and enter their current and revised informations.
- Click on Save button.
Employee Termination
To enter the details of the terminated employee,
Go to HR -> Employee Termination
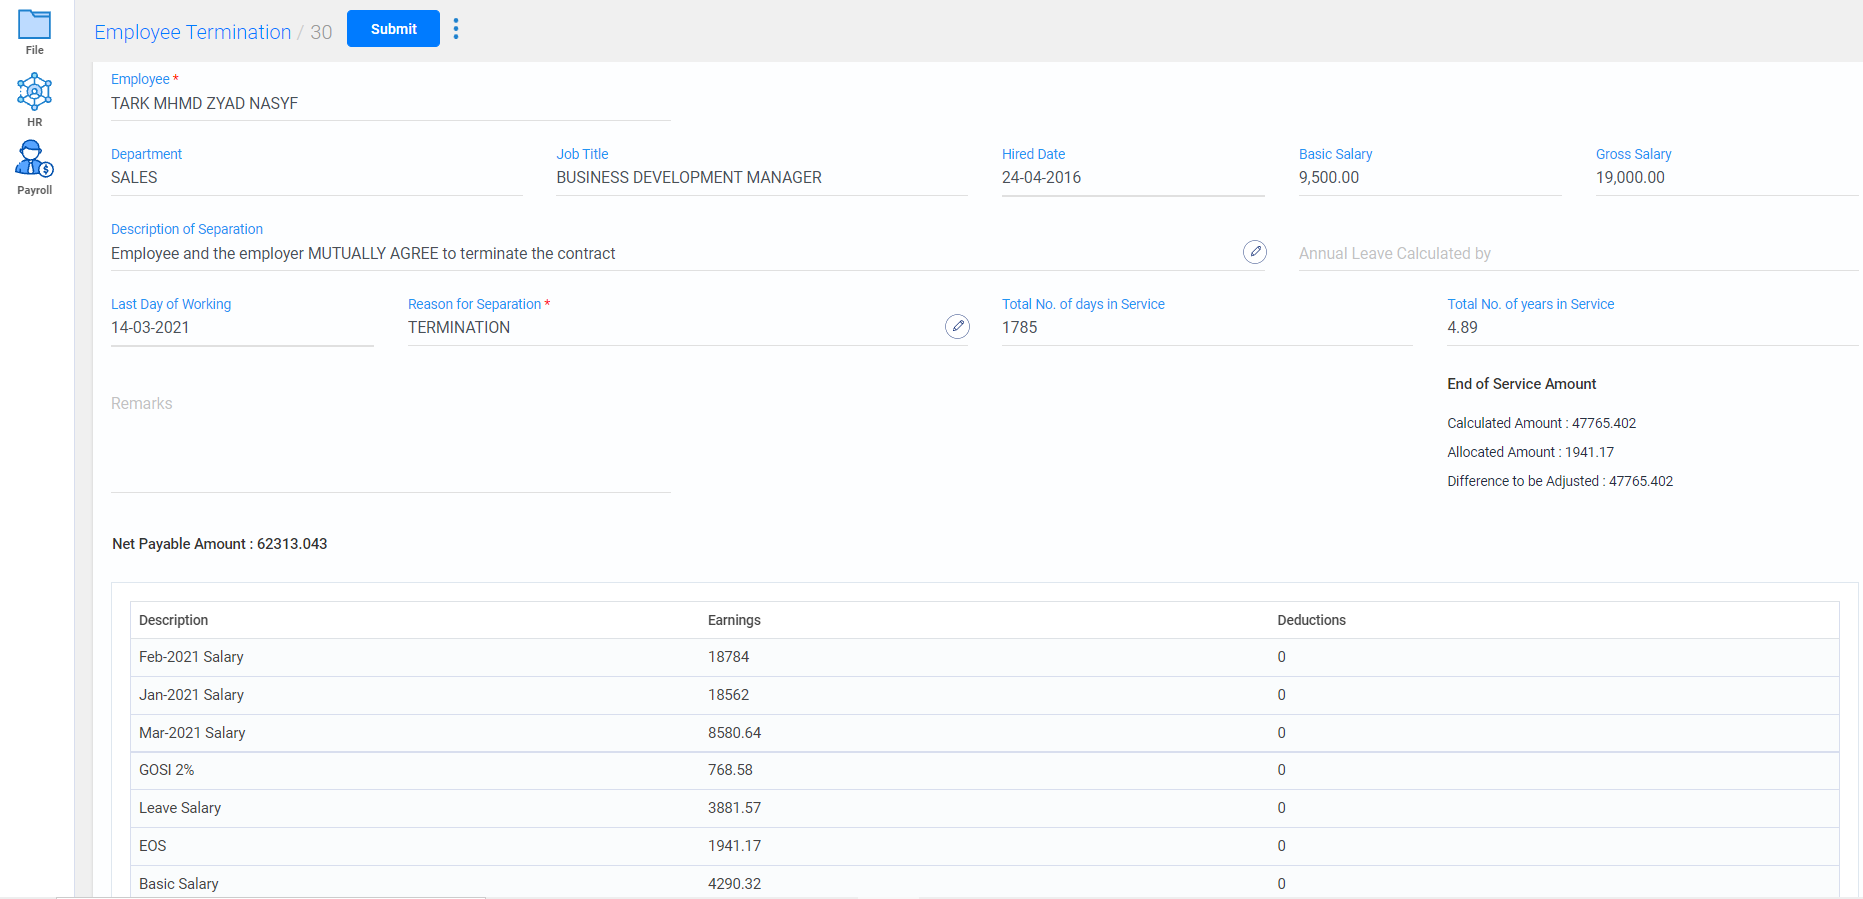
- To create a new termination entry, click on the create new button.
- Enter the employee name, the basic employee details will be displayed.
- Current date will be displayed in last working date as default, if it varies enter the particular date.
- Enter the employee's reason for seperation.
- The end of service amount, loan amount, earnings and deductions will be displayed
- Click on submit button.
- All the terminated employee's details will be displayed; you can either view or edit them if needed
- To view any details of a particular terminated employee, search with their name in the search field.
HR Reports
Generates reports based on the employees of the oragnization.
Go to HR -> HR Reports
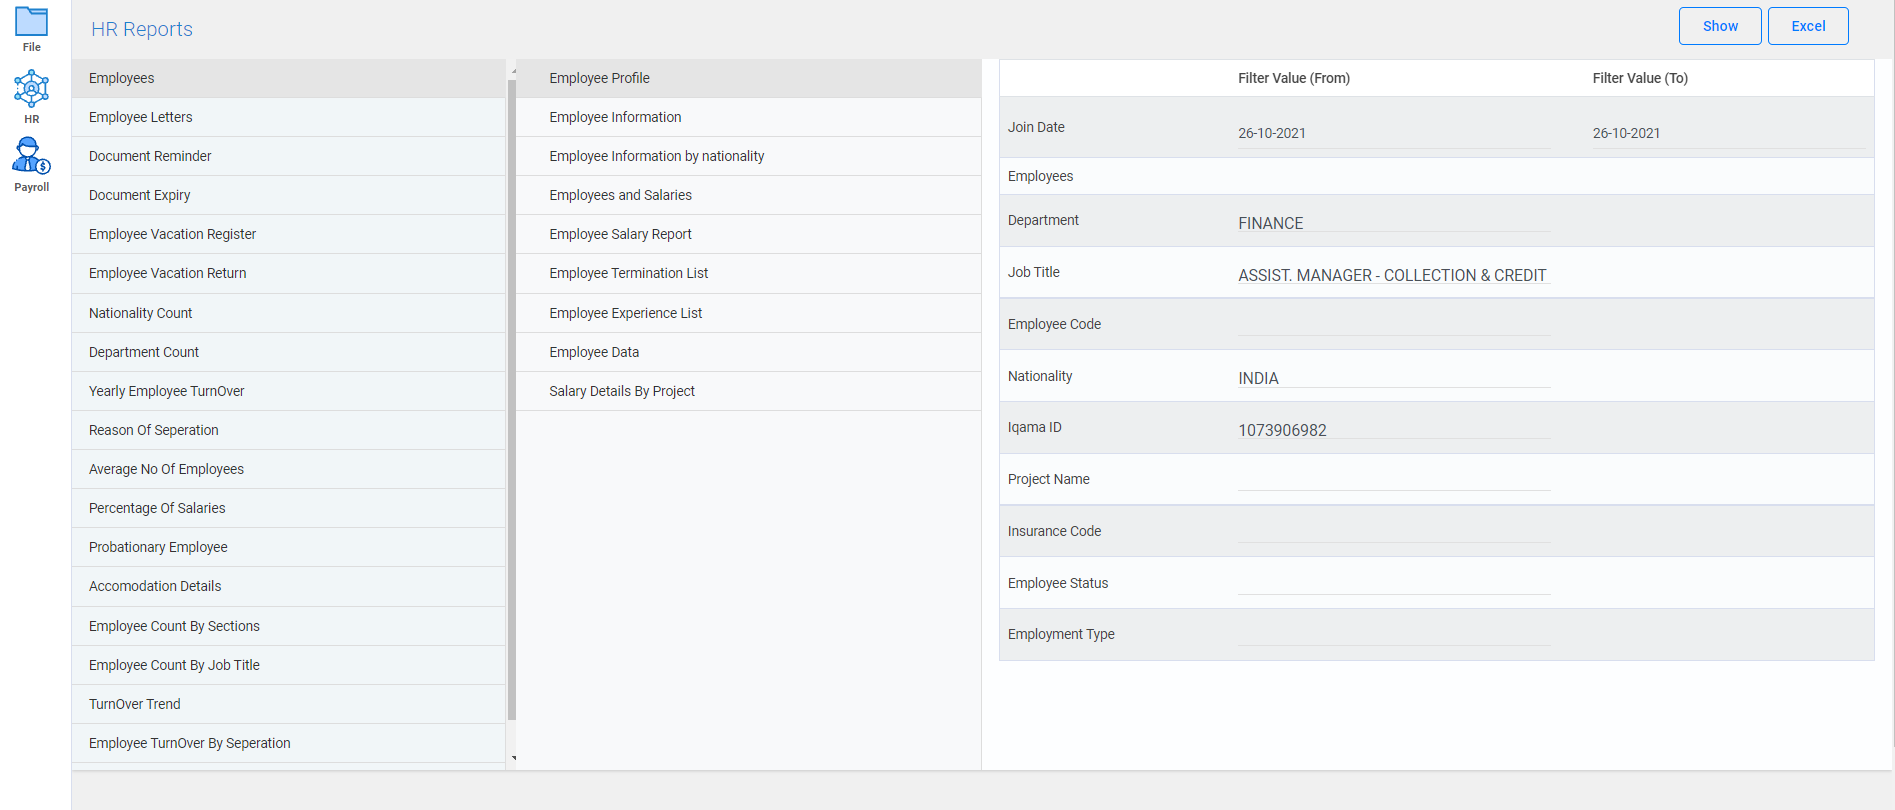
- You can view the detailed HR reports by filtering from the required fields.